Are you looking for how to disable Screen Saver option on Window 10? Today we are here to help you to turn off screen saver option on Microsoft Windows 10 operating system. Sometimes Screen Saver bothers you when installing some important software or updating Windows operating system. And after activating screen saver, you need to re-login. (need to type password again.) For those who don’t want screen saver to be activated automatically, Please follow this step.
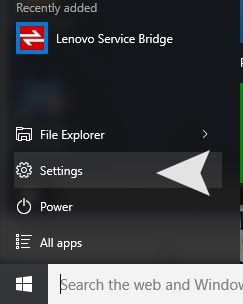
Step 01. Click the Windows Icon in the corner at the bottom left side. > Click on Settings > Select Personalization
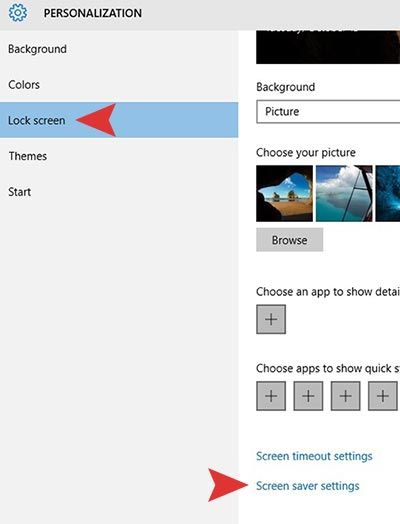
Step 02. Select Lock Screen option > Go to Screen Saver Settings in the right pane.
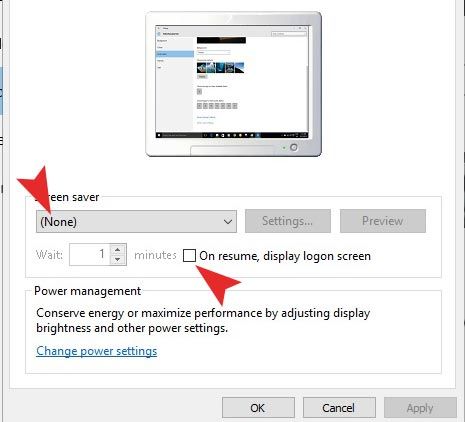
Step 03. Set the screen saver as NONE and Uncheck the box to On resume, display logon screen.
On resume, display logon screen: If you check in this box, it will ask you to type in password when you resume from the screen saver.


On resume, display logon screen: If you check in this box, it will ask you to type in password when you resume from the screen saver. OK I unchecked. Let us see what happens.
Doesn’t work on the latest edition of winblowz 10!
Hi all,
any update on this? I’m also trying to switch off the screen svaer for a screen which should run in kiosk mode but after 10-20min it switches off/ saves energy. I have disabled the power save function on the screen and assigned our old 2008R2 GPO to the machine without any efforts. GPResult /R does not show the the GPO I have assigned which tells me it’s not compatible may be.
If somebody has an idea on this please let me know.
Thanks
Torsten
Just found a possible solution. Testing it…
Step 1: Open Registry Editor. To do so, type Regedit in Start menu or taskbar search box and then press Enter key. Registry Editor can also be launched by typing Regedit in Run command box and pressing Enter key.
Step 2: In the Registry Editor, navigate to the following key:
HKEY_CURRENT_USER\Control Panel\Desktop
Step 3: On the right-side, look for the entry named ScreenSaveActive, double-click on it, and set the value to 1 (one) to enable screen saver and make it 0 (zero) to disable.
Note that if the ScreenSaveActive string value doesn’t exist, right-click on the empty area, click New, click String Value and name it ScreenSaveActive.
any one know what i can’t turn the screen saver off? it says i probably don’t have privileges but i am the only one using the computer and listed at admin. error says it can’t access the path.