
Are you trying to record screen on your Macbook Pro or Air? but don’t know how to record? Don’t worry! We are here to share how to record screen on Mac OS X. Fortunately there is a screen record software called Quicktime on Mac OS X, so you don’t have to spend your time on researching from Internet. It’s very easy and simple to use. Now Let’s start to learn how to record screen on Mac with Quicktime screen record software!
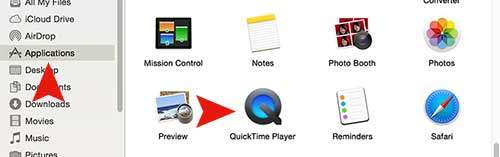
Step 01. Please navigate to Applications > Launch QuickTime Player
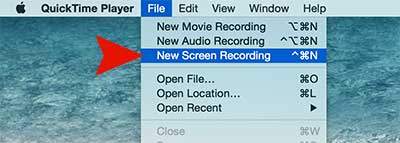
Step 02. Go to File on the top menu bar and click on New Screen Recording.
Step 03. When you have the screen recording box with the recording button, click the recording button.

Step 04. Now, once you click the recording button, this message will pop up. If you click anywhere in the screen, it will start to record the full screen. You can also select and record the particular section by dragging.

Step 05. To stop recording, Go to top menu bar in the right. You will see the stop button. Once you click the stop button, it will ask you to save or not. Hope you successfully record your video through this instruction.


