There are two ways to back up files on your iPad. The first way is to back up your iPad using iTunes and the second way is to back up your iPad using an iCloud. Today we are going to share how to back up your iPad using iCloud back up method. The good thing about backing up using iCloud is that you can restore your iPad without a computer at anywhere, because it’s backing up all files to the iCloud server. However, lets try to back up your iPad using iCloud! Please follow the guide step by step.
Step 01. The first thing to finish backing up successfully using iCloud is a reliable network connection. Please make sure that the Wi-Fi network is working properly.
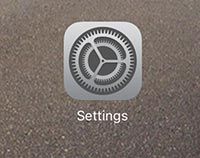
Step 02. Turn on your iPad and locate to settings.
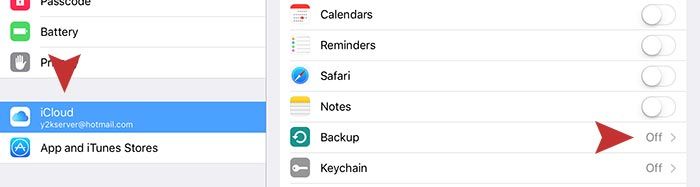
Step 03. We are going to turn on Backup Switch in settings. Try to tap iCloud with your email address on the left. Once you tap the iCloud, you will see many options regarding your iCloud on the right side. Please turn on the Backup Switch by tapping.
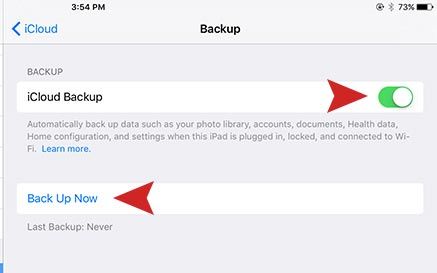
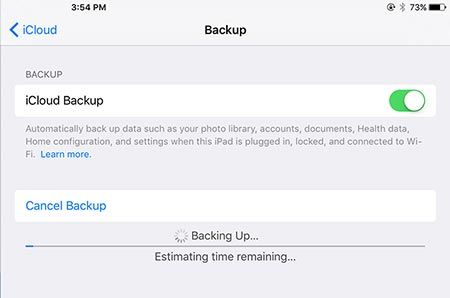
Step 04. Try to turn iCloud Backup Switch on again. Once you turn it, the Back Up Now button will be activated. Please tap the Back Up Now button and it will process to back up your iPad. (You can also cancel the backing up process by tapping the cancel button.)
Step 05. It will take some time to back up your iPad. If it’s done, now we are going to check if it backs up successfully or not. Please go to Settings > iCloud > Storage > Manage Storage. You will see your iPad with backup file size (ex. 1.5GB). If you check your iPad with the file size, it went through successfully. If you have any serious problems or need to restore your iPad later on, you can simply use the backup files that you just made using iCloud.


