Acer Aspire V3-571-6769 screen (LCD) replacement – September 19, 2017
Good Morning! It’s P&T IT BROTHER. It’s been a while since we uploaded a post in Repair Diary.. So, it is about repairing a laptop. To be exact, we are replacing a laptop screen (LCD). Our customer from Toronto, dropped her laptop, and unfortunately, the laptop screen was broken and damaged. Only way to fix this is to replace the whole LCD, and that is exactly what we are going to do! Let’s get started!
Acer Aspire V3-571-6769


This is the machine. It was in great shape other than the broken screen, and since the owner did not spent any money to fix computer problems for this one, we decided to go ahead and do the LCD replacement. Sometimes, there are problems that are not worth to fix, but in fact that this is not an old laptop, and the repair only costs $100~$150, owner wanted to do the repair.
Taking off plastic frame


Before we go ahead, we did order the right part first, and when the part has arrived, we started the repair. First of all, you need to unscrew those two Phillip head screws. There are small plastic covers to remove above the screws. Take them off with a sharp tool, then you can see the screws.


After removing the two Phillip head screws, carefully remove the plastic frame. You can use a guitar pick, but it is not that hard with hands. 😀
Removing LCD panel


After taking off the plastic frame, you need to disconnect the web cam cable. This cable is also connected with the LCD cable. So, if you do not remove this cable first, you will damage it while you are removing LCD from the frame. There are four more Phillip screws to remove Left & Right & Top & Bottom.


Do you see the side metal frames? Next thing is to remove total of 6 Phillip head screws from the side metal frame. After that, you will be able to lay down the LCD like the picture above. You now have access to the LCD cable which connects the LCD from motherboard. There is a strong tape that is holding the cable in place. Carefully remove the tape and the cable. You just pull out to disconnect. Do it carefully.
New LCD screen installation


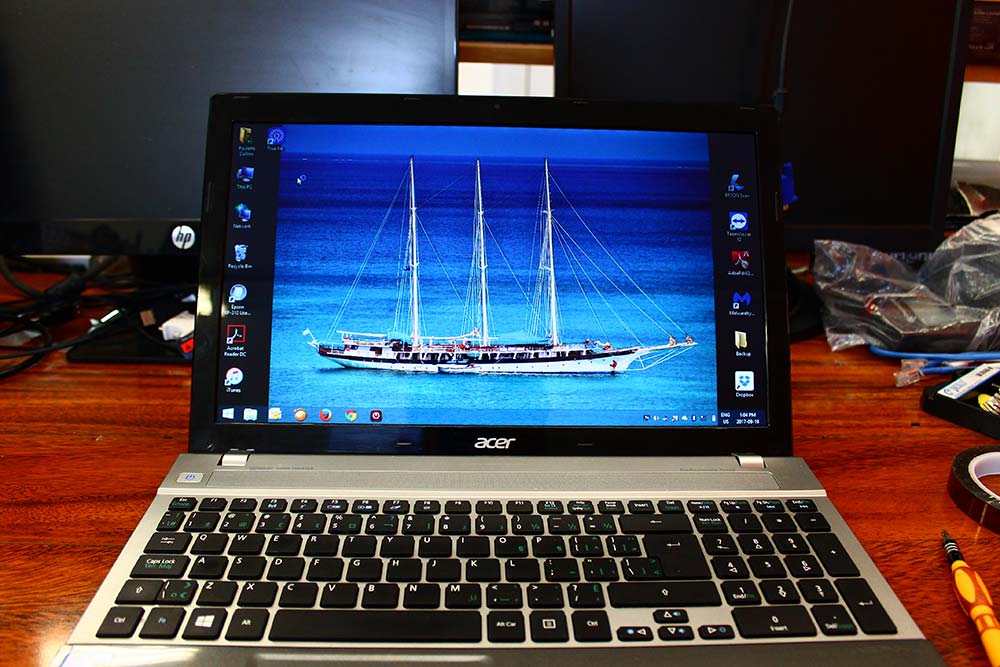
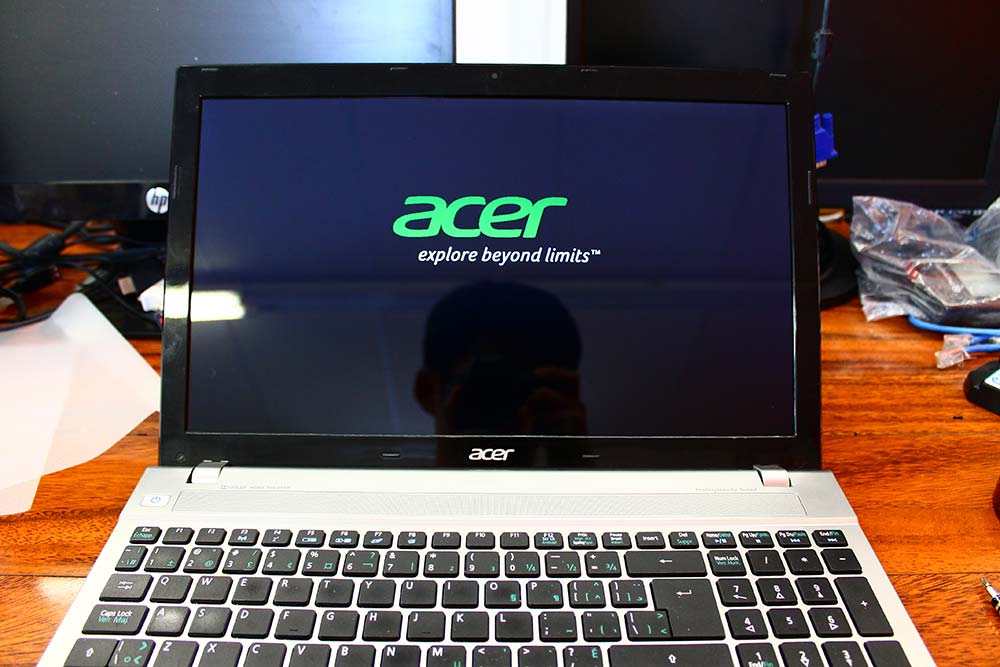
If you have uninstalled the existing LCD panel, replace it with a new LCD, and put all the screws back. Before you re-assemble everything, always, do a test! It looks great. We have confirmed that the new LCD is working perfectly! Good!
LCD replacement completed!
Thank you for visiting and reading our article. If it was helpful for you, and if you liked it, consider following us on social medias. Have a nice day! 😀 😀 😀


