Are you trying to set up with a new user account on Windows 10? But don’t know how? Don’t worry! We are going to share how to create a new user account for your families and friends! If you are sharing a computer with your family or friends, we recommend you to configure on each user account. Good things about creating multiple user accounts on a sharing computer is that it protects each user’s own files between your family & friends. For examples, let’s suppose that if you and your family are sharing a computer together without multiple user configuration. Some of your family might delete your files for the work or school. To prevent this happen again, Please follow the instruction carefully.
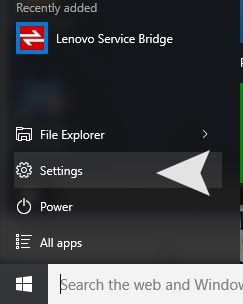
Step 01. Click on the Windows Icon > go to Settings
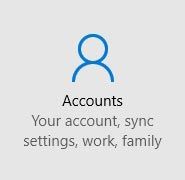
Step 02. Once you get into Settings, you will see Accounts. Please click on Accounts.
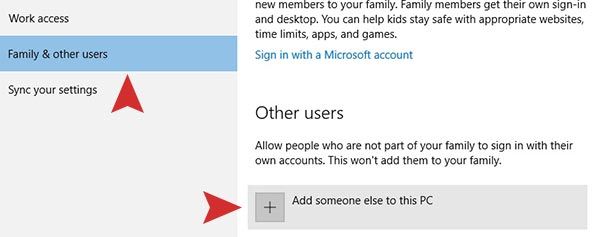
Step 03. Select Family & other users in the left pane, and then click on Add someone else to the PC
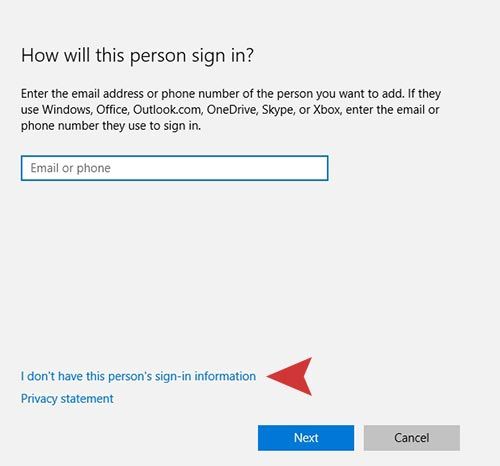
Step 04. You don’t have to type in your E-Mail or Phone number in that blank field. Click the I don’t have this person’s sign-in information and Next.
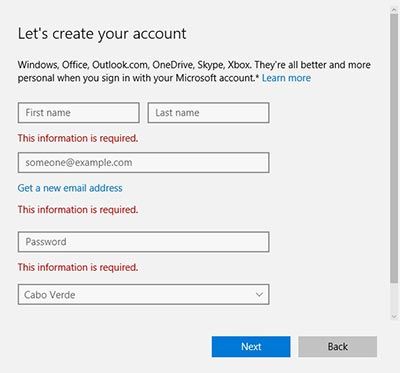
Step 05. Please fill out the personal information form and Click Next.
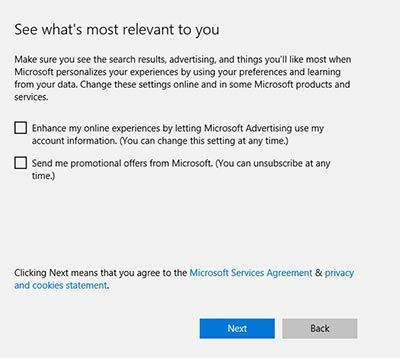
Step 06. Now it’s done creating a user account. If you check in the box, you will get information by E-Mail from Microsoft. If you don’t want any e-mails from Microsoft, Uncheck the box.
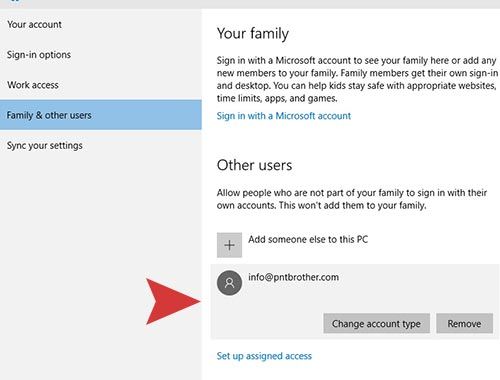
Step 07. If you go back to Family & other users, you can check the new user account has been created. (Note. To delete the account, Click the Remove button.)
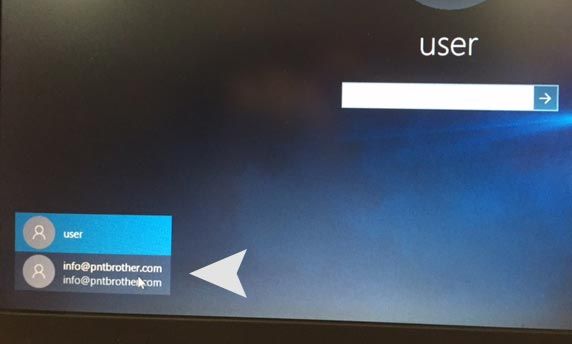
Step 08. Now when you are trying to login, you can access your own account by selecting in the bottom left corner.