Today we are going to share how to send and receive files, pictures, and songs between Macbook and iPhone or iPad using AirDrop. It’s very convenient to use AirDrop to share files between Mac OS X and iOS. the most good thing about using AirDrop is that you don’t have to use a cable to connect your iPhone or iPad. If your iPhone or iPad is around your Macbook, you can always share files at anywhere. Now we are going to show how to share files using AirDrop on Macbook, Please follow the guide step by step.
How to send files from Mac OS X(Macbook) to iOS(iPhone)
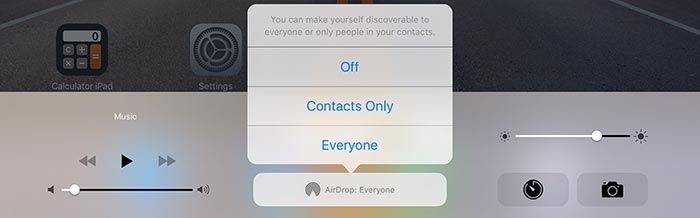
Step 01. Please try to turn on AirDrop on your iPhone or iPad. (Swipe up from the bottom of the screen)
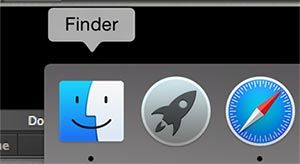
Step 02. Turn of your Macbook and launch Finder application from the Mac OS X Dock at the bottom of the screen.
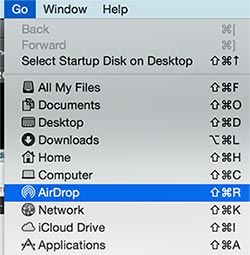
Step 03. Select GO on the top menu and open AirDrop
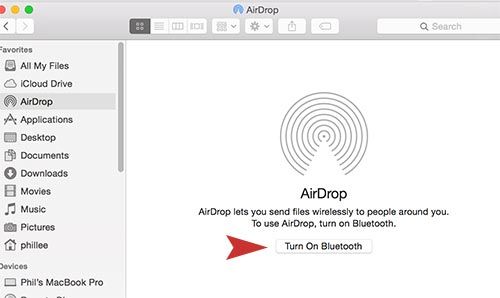
Step 04. Click the Turn On Bluetooth to activate AirDrop transfer method.
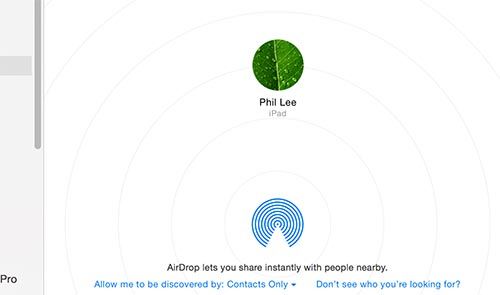
Step 05. At this moment, Please try to turn on your iPhone or iPad. You will see iPhone or iPad nearby your Macbook has been detected. Now try to locate the file that you want to transfer.
Step 06. Mouse Right-Click on the file. Go to Share and Select AirDrop.

Step 07. Click your iPhone or iPad name that appears on the left and wait till SENT message shows. If you see the Sent message appears, the picture has been sent to your iPhone or iPad successfully. Check if the file is on your iPhone & iPad. If it’s there, Click on the Done button.

How to receive files from iPhone or iPad (iOS) to Macbook (Mac OS X)
Step 01. Please turn on AirDrop on your Macbook Pro or Air. Open Finder > Go > AirDrop
Step 02. Activate AirDrop on your iPhone or iPad.
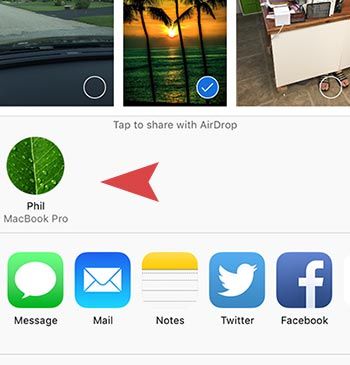
Step 03. Select the file that you would like to send to your Macbook. Tab the icon looks like arrow in a square box.

Step 04. Once you tab the icon, you will see your Macbook name appears on the AirDrop list. As soon as you tab the Macbook Pro icon, the file going to be transferred right away to your Macbook. And you can check the file in the download folder on your Macbook. (Note. Your download folder is in Finder Application. Open Finder > Downloads on the left.)